
This is my Polaroll! A combinaton of Polaroid packfilm camera and rollfilm back.
The background story of how I got this idea is in My Adventures in Packfilm Part 1. Part 2 begins with a Polaroid Land 210 and a rollfilm back for an old large format camera.

I will illustrate some of the process with this Polaroid Land 104, a model which is practically identical to the 210.


1, 2, 3, 4. The four steps to taking a photo with the Polaroid are molded into the controls.

It is not a steady contraption.

Battery door to the left, film door to the right.

This is where you load your packfilm cassette, containing 10 exposures.

The lens is a 144 mm f/8,8 lens.

The battery required for the camera to work is a 3 volt. It is easy to convert the power to different 3 v sources.

This one battery is a 3 v CR3 (?) with the wires just taped to the contacts with electricians's tape.

The hinge and connection of the film door to the body.

Here I've removed the battery door by pulling out the wire inside the hinge, thus releasing the door.

The film door is screwed on with two small three-sided screws. I made the easy choice to twist and break the metal. The plastic cracked in the process but nothing big.

Here I've mended the broken plastic with Sugru. Also I've cut away part of the peg to the left, for a better fit of the film cassette. I've added light sealing foam strips along the sides of the film plane.

An overview. Finished before inserting the film cassette.

These are two of the three parts constituting a metal pack-film cassette. There are also plastic ones, which aren't practical in this project.

The frame - where the Polaroid photo is exposed at the film plane. And the pressure plate within. The possible size of the exposed photo is 73 x 95 mm depending on which film type you run through your camera.
This is the important part, and the one which I don't have photos of: I used the metal pressure plate of my cassette to make the pressure plate/film plane over which my rollfilms would travel and be exposed in the Polaroll. Both short ends of the original plate are flexible and can be bent and thus creates smooth edges over which the film (backing paper) can travel without heavy friction.
I took care to have bend the pressure plate and place it just at the edges of the opening of the film frame. I also placed felt strips of light seal so that if the film happens to touch the inside of the frame it won't get scratched.

The next step was to attach the the rollfilm back to the pressure plate. The rollfilm back is from an old system - not sure which - which used 90 mm wide film, as opposed to the widest today which is medium format at 60 mm. As luck would have it the frame and the back fit very flush on the sides and I was able to glue thick plastic strips cut from a signage found at work to cover the sides, creating a box.
The film cassette had to fit into the camera's film compartment and place the film plane in the right position. Additionally I placed the plastic strips/box sides so that they would be flush to the top sides of the camera body film compartment once the film cassette was inserted.

The difficult end of the rollfilm cassette is where the packfilm was pulled out through rollers mounted on the now removed film door. The door leaves a lot of space. I used material from an old cloth-and-leather bellows and Sugru to seal off this end of the cassette.

Strips of light sealing foam was added along the edges of the rollfilm compartment so that its door could rest on the yellow plastic sides of the box.

I had some thought going into how the rollfilm compartment door would fit the entire thing, along the way. I came to the conclusion that the easiest fit would be to have its edges rest on the edges of the cassette 'box'.


Once the construction was finished a roll of 120 film was loaded into the cassette, with the aid of spacers of my own construction. Then electrician's tape was used to seal the film door flush to the cassette and to hold the cassette in place on the camera.


I am lucky to own a (as coincidence has it) Polaroid shutter made for large format cameras. It has a large enough opening to be used as an external shutter on the Polaroll, thus letting me override the camera's automatic exposure technology. If you cover the camera's light sensor/meter it defaults into Bulb-mode. So, when I trip the shutter I hold the camera's shutter button to keep the shutter open, while tripping the external shutter. F/8,8 is still the permanent aperture, though.

The first photographs were made with Fomapan 400, a go-to film of mine. It reacts very well to caffenol, which is my b&w developer. This time, though, something happened making the film fog up very very dark. I managed to extract hopeful signs from the negative, though. I had focus where I wanted it.


The next roll was more of an experiment (Experiments within the experiment - are you out of your mind!). It's a 40 yr old Kodacolor II 100 ASA film. It turned out great with caffenol.

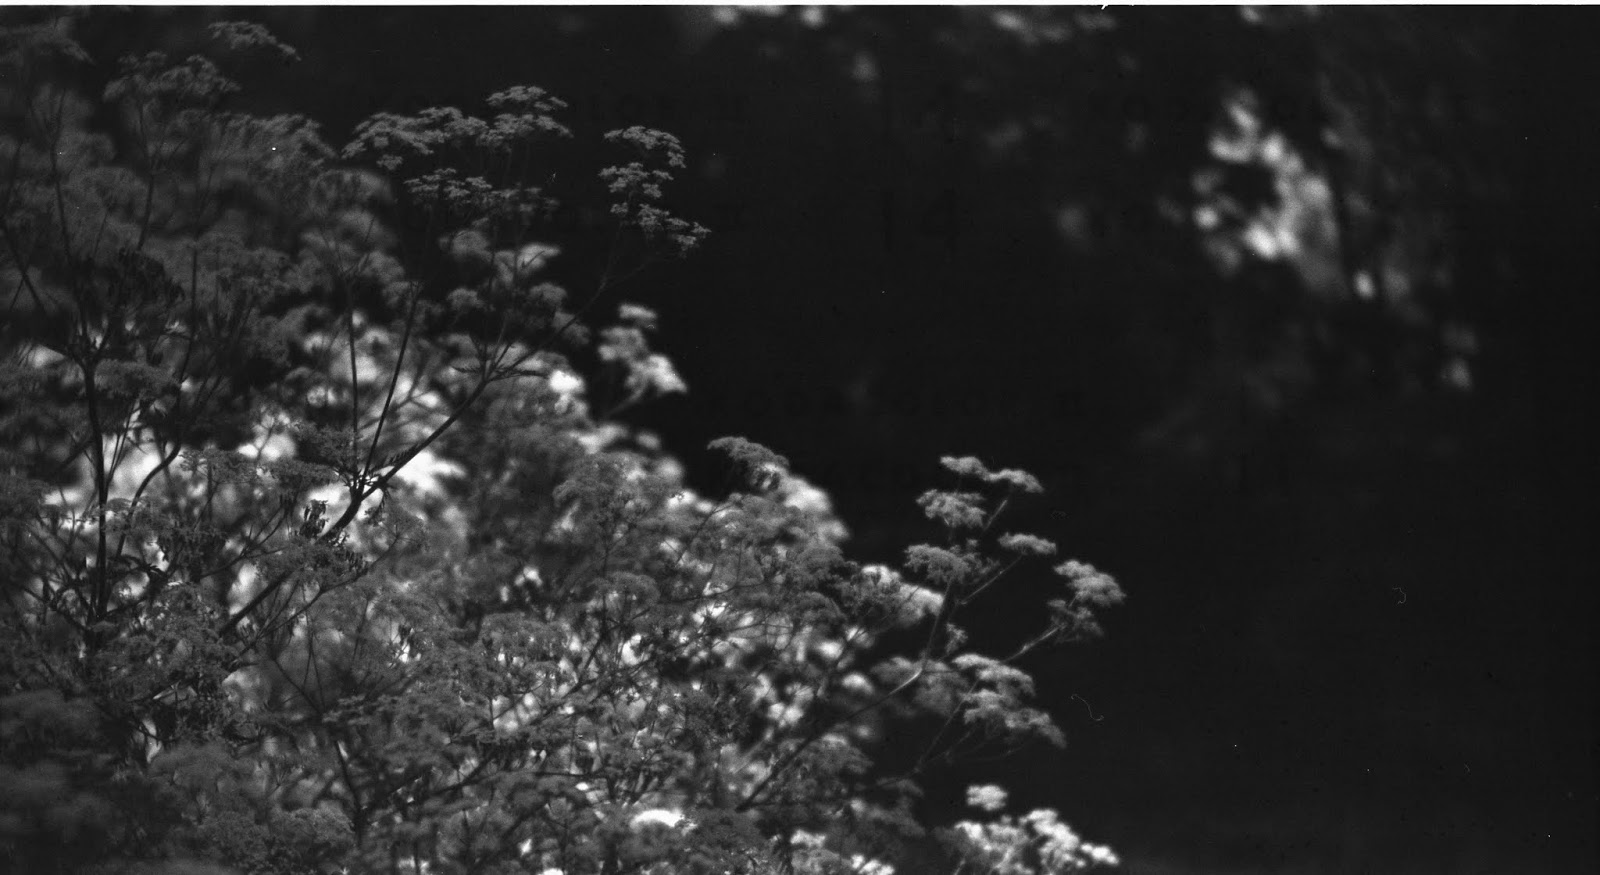
Camera shake is easy if you don't concentrate enough! Otherwise I'm satisfied. Look at that lens character!
Thanks for tagging along on the crazy ride! Don't hesitate to comment or check out my Instagram at #ourbooksmalmo. Visit my Etsy shop getOurBooks where there are several cameras and other photography paraphernalia for sale.
Comments
Post a Comment